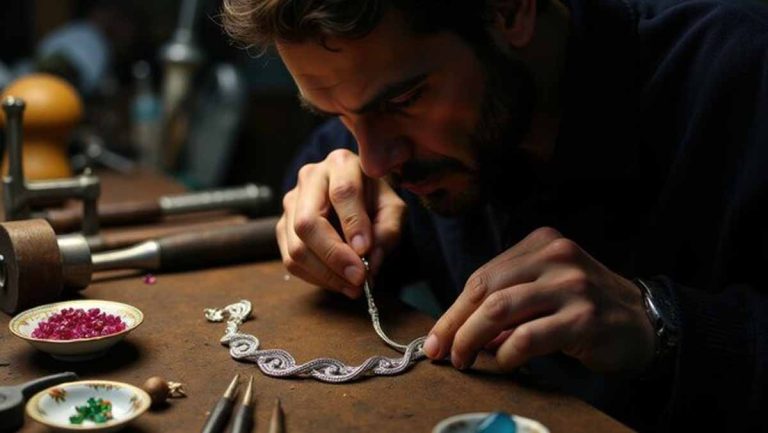
How to Make Resin Jewelry: A Clear and Practical Guide
Resin jewelry allows you to shape personal designs with your own hands. From simple bands to bold pendants, each piece reflects your style.
Color, texture, and shape can create unique results. No factory-made item captures the same energy.
Both new learners and experienced crafters find satisfaction in the process. The method is easy to learn, and each stage brings new ideas.
This guide explains what to use, how to work with care, and what to avoid. Take your time and follow through to create something with meaning.
What is resin jewelry?
You pour liquid resin into molds or open frames, often adding small decorative items. Once the mix cures, it becomes solid. Like glass, the finish looks clear and smooth but remains light and durable.
This craft suits every style. You can keep it minimal or go bold with colors and textures. Resin accepts any idea you have, and that freedom draws in people of all skill levels.
What You’ll Need
Before you begin, gather your tools and materials. Use this checklist:
- Resin—Choose epoxy for a slower setting time or UV resin for quick work
- Molds—Silicone types in various forms, such as rounds, ovals, or abstract shapes
- Bezels—Metal outlines that hold resin in place for earrings or necklaces
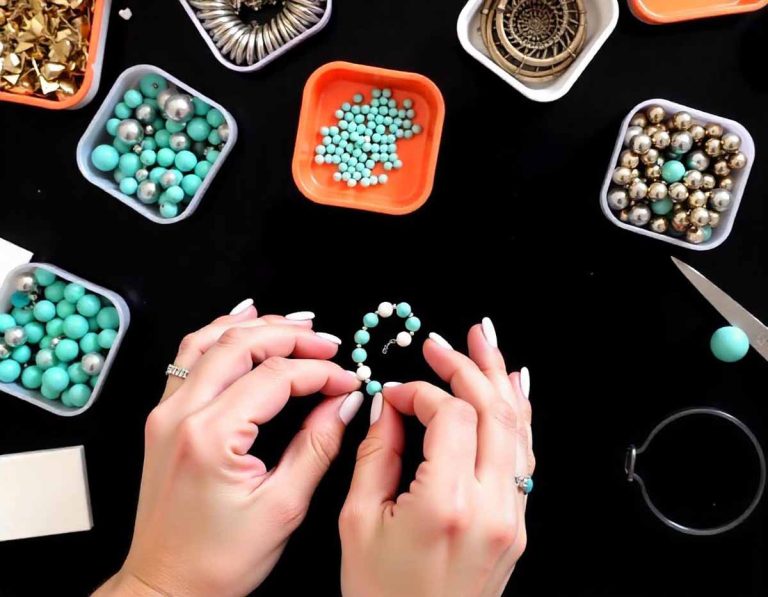
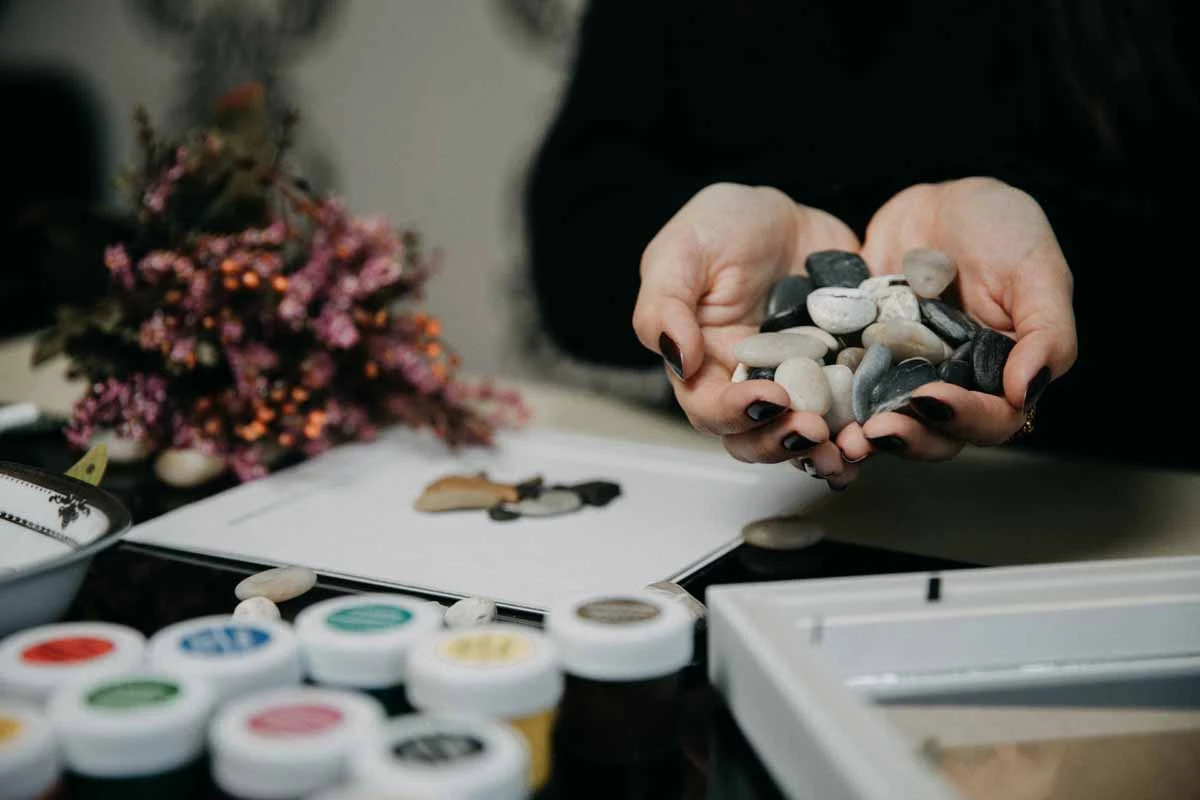
- Decorative Pieces—Flowers, glitter, foil flakes, beads, or powder colours
- Mixing Items—Measuring tools, plastic cups, and wooden stirrers
- Safety Items—Gloves, protective glasses, and a face mask
- Assembly Parts—Chains, hooks, jump rings, earring backs
- Extras—heat gun for surface bubbles and release spray for easy mould use
Starter kits offer a simple way to collect the basics. Many crafters use them for the first few tries.
How to Make Your First Resin Piece
Here is a step-by-step guide on how to make resin jewelry.
Prepare Your Workspace
Work in a place with airflow. Resin fumes build up quickly in closed rooms. Cover your table. Lay out all tools. Wear gloves and a mask from the start. Keep tissue or alcohol nearby for cleanup.
Get the Moulds or Frames Ready
Clean the surfaces well. Remove dust, lint, or leftover resin. If you use open bezels, stick tape under them to stop leaks. Spray silicone moulds if needed. That step helps when you pop out the final shape.
Mix the Resin
Use the ratio listed on your resin container. Standard mixes include 1:1 or 2:1. Pour both parts into a disposable cup and stir gently. Take your time to reduce trapped air.
Skip this part if you use UV resin. That version comes pre-mixed.
Fill the Moulds or Frames
Pour slowly. Let the resin settle. Guide the liquid into corners using a toothpick. Fill halfway if you plan to create layers. Clean up edges before they dry.
Add Decorative Items
You can add any details you like—small flowers, glitter, colored bits, or beads—using tweezers for accuracy. You can keep the layout neat or make it complex. Every choice reflects your vision.
Create Layers for Depth
Let the base harden slightly. Add another pour to build thickness. If you want a multi-level look, stack more pieces in each round. Repeat this process until the piece feels complete.
Let the Resin Cure
Give epoxy 24 to 48 hours to harden fully. UV resin only needs a few minutes under a UV lamp. Don’t rush. Soft spots or sticky patches mean the resin didn’t finish setting.
Remove and Finish the Jewelry
Pull out the cured piece with care. Smooth any sharp edges using fine sandpaper. Attach chains, backs, or clasps using pliers. If you want to drill holes, use a small hand drill.
Helpful Advice for Better Results
- Heat the top of fresh resin with a small torch or heat gun to pop bubbles
- Mix smaller amounts to avoid waste
- Wipe your tools clean before the resin sets
- Add ink or colour powder to shift the mood of each design
Mistakes That Ruin Projects
- The wrong mix of amounts leads to soft or sticky resin
- No gloves or goggles can protect you from irritation
- Poor airflow allows fumes to build up
- Touching or moving the resin too early causes dents or marks
Project Ideas to Try
- Pressed flower pieces for natural charm
- Cosmic effects using dark pigment and sparkle
- Keepsake pendants with initials or tokens
- Modern shapes in muted colours for a clean look
 FAQs
FAQs
What resin works best when starting?
Epoxy gives you time and room for minor errors. UV resin sets faster but leaves no margin.
How can I stop bubbles from forming?
Stir slowly, avoid shaking, and lightly heat the surface after pouring.
Can moulds be used more than once?
Yes, just wash them well and store them flat.
Final Thoughts
You don’t need expensive tools or years of practice to build meaningful resin jewelry. Each project helps you learn something new. Take one idea and follow it through. The outcome becomes more than a simple object—part of your effort and style.
You can wear it, gift it, or sell it. Each piece bears your hand’s mark.