The Art of Beads: A Clear Guide to Crafting Handmade Jewelry
Beaded jewelry turns simple materials into wearable stories. Each bracelet, necklace, or earring reflects a sense of personal and timeless style. The beauty of this craft lies in your hands—you control the design, color, and feel. Whether you’re just starting or refining your skills, this guide gives you all the essentials to succeed.
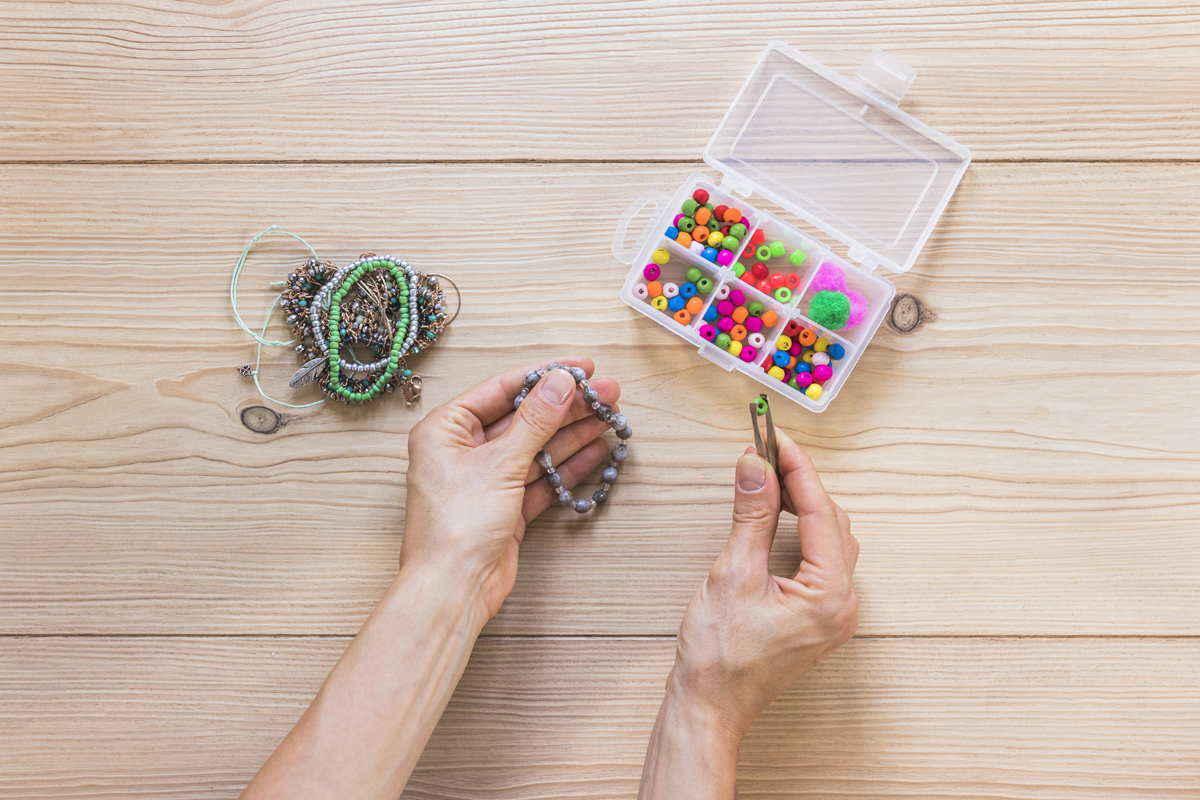
Tools and Materials That Make Things Easy
Every maker needs the right tools before threading begins. Good preparation keeps the process smooth and helps prevent mistakes.
Types of Beads
- Seed Beads—Tiny beads suited for patterns or weaving
- Pearl Beads—Smooth and elegant, perfect for classic looks
- Bicone Beads—Reflective edges that catch the light
- Rondelle Beads—Rounded edges for added dimension
- Glass or Wooden Beads—Great for colour, texture, or a relaxed style
Tools You’ll Rely On
- Beading Thread or Wire— Choose nylon or steel for strength
- Needles—Thin, flexible ones make threading easy.
- Pliers—round-nose for loops, flat-nose for securing ends
- Scissors or Cutters—Keep threads and wires neat
- Clasps and Findings—Use jump rings, crimps, and clasps to finish pieces
Step-by-Step Projects You Can Try Right Away
Start simple. Clear steps and the right tools help you build confidence from day one.
How to Make a Beaded Bracelet
- Measure your wrist
- Cut the beading wire, leaving a few extra centimeters.
- Choose beads and lay out a pattern.
- Thread beads onto the wire
- Use crimp beads to secure each end.
- Add the clasp, check the fit, and adjust as needed
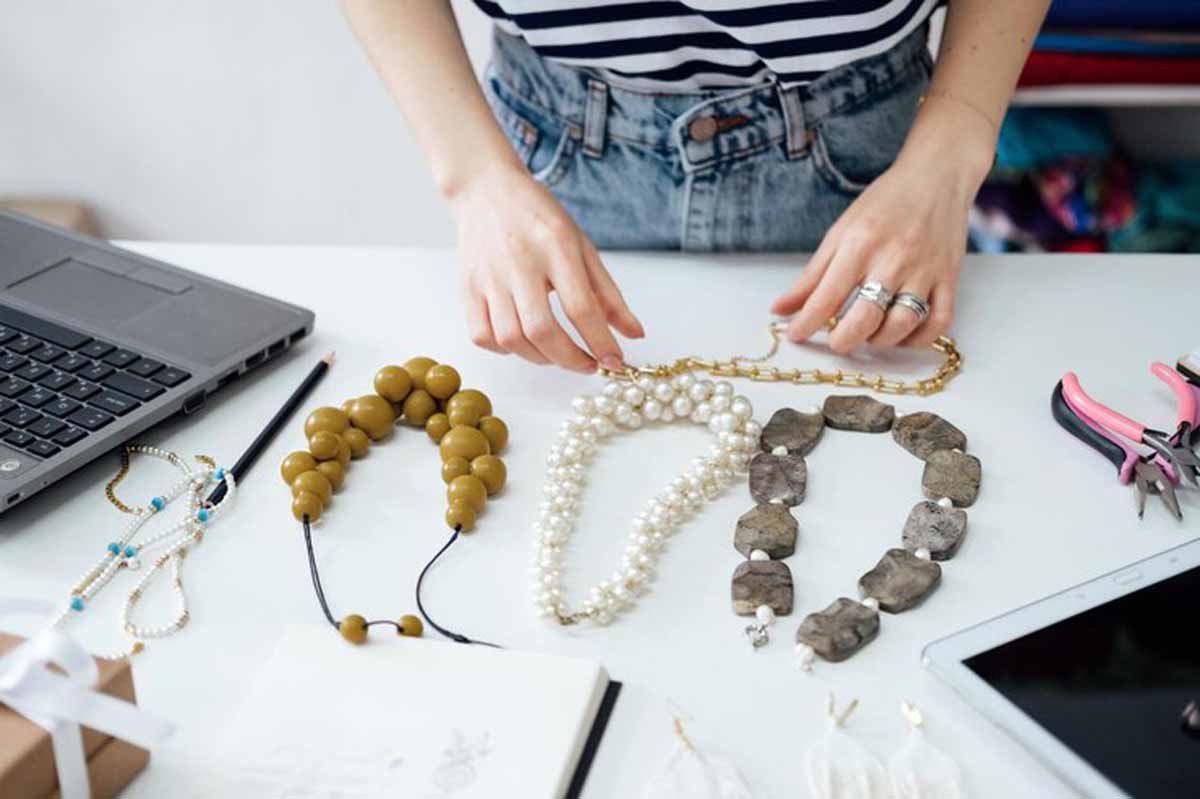 How to Design a Beaded Necklace
- Arrange your beads on a board or flat surface
- Cut your thread or wire—add extra for securing ends.
- Thread beads in your chosen order
- Attach a clasp to one end using a crimp bead.
- Repeat on the opposite side.
- Check the pattern and balance before wearing.
How to Craft Elegant Earrings
- Pick a matching set of beads.
- Thread them onto a headpin.
- Trim the extra pin length.
- Use round-nose pliers to form a loop.
- Attach the loop to an earring hook.
- Repeat to make the pair complete.
How to Add Your Style
Each design gives you a chance to make something no one else owns. Simple choices change the feel of your jewelry.
- Combine rough wood with smooth pearl beads.
- Try bold colors or pair opposites on the color wheel.
- Add a small charm that holds meaning.
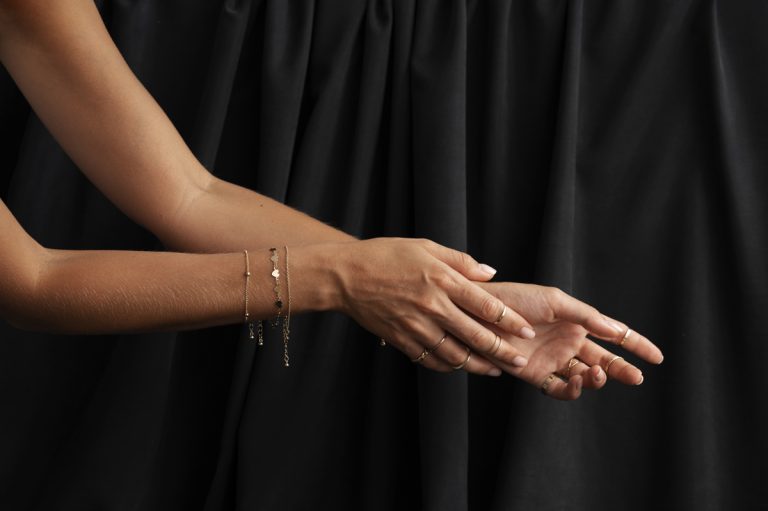
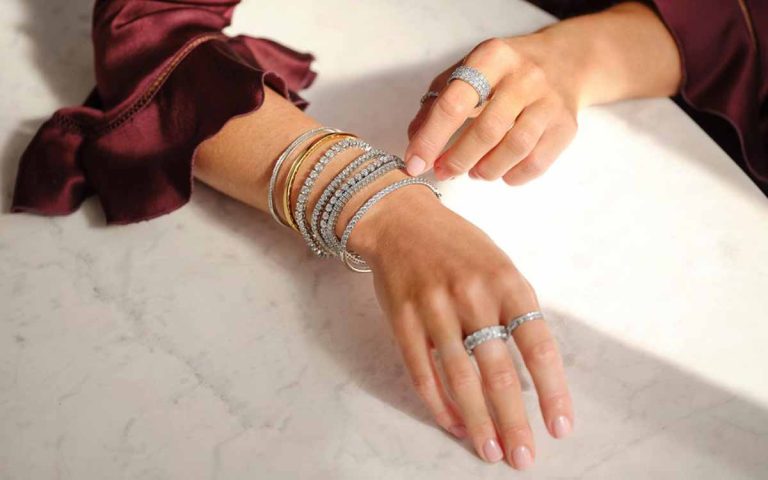
- Stack multiple bracelets for contrast.
- Use stones or shells to bring nature into your work.
Common Mistakes That Ruin Good Work
Even a great idea can fall apart when small things go wrong. A few smart habits help avoid frustration.
- Leave space between beads so the piece bends easily.
- Pick strong thread or wire, not cheap substitutes.
- Always test the clasp before finishing.
- Double-check your length before you cut.
- Lay out the whole design before you start threading.
Techniques That Challenge and Reward
Once basic projects feel easy, take things further. Complex styles don’t require expensive tools—just time and patience.
- Weave patterns using a loom or off-loom methods like peyote stitch
- Wrap stones or beads in wire for a more artistic finish.
- Use multiple strands to add volume or structure.
- Add crystals or gemstones for a polished look.
- Explore shapes and patterns to break away from simple lines.
 Final Thoughts: Create and Share What You Make
Making jewelry brings more than a finished product. It gives you moments of focus, calm, and pride. Each piece reflects your hands and your choices. Use your tools. Build your patterns. Finish strong.
You can turn a box of beads into something worth keeping—or giving.
Ready to begin? Lay out your first design today. Share your results with friends or post them online. And if you’ve got a question or tip to share, drop it in the comments. The joy of beading grows stronger when shared.